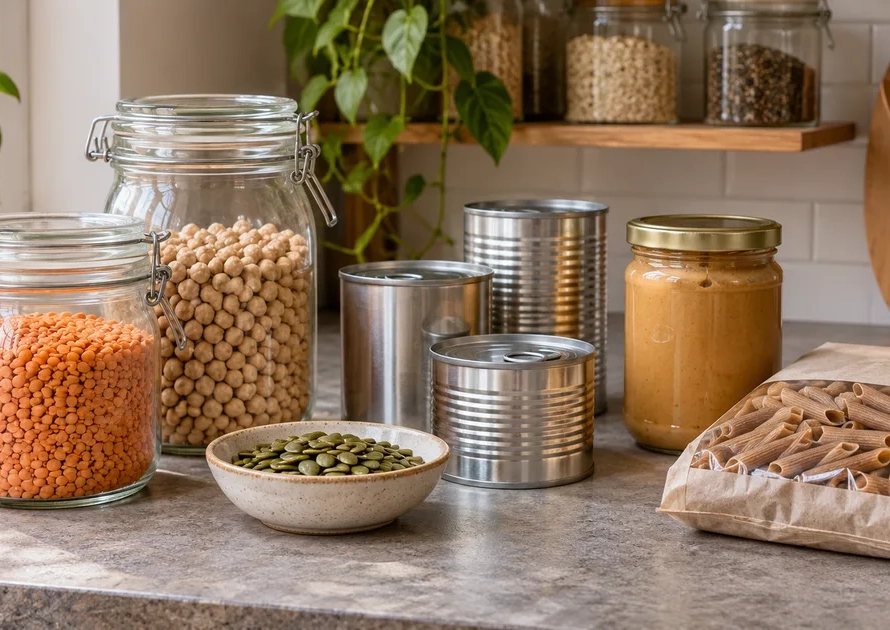
To freeze soup in useful portions, divide the batch for prompt cooling, choose freezer-safe packaging with expansion space, and label the amount you will want to reheat. Plan the portions around an actual lunch or starter, rather than filling the largest container you own.
Safe handling comes before freezer organization. The guidance below uses current U.S. FoodSafety.gov and USDA consumer advice, checked on November 19, 2026. An original 1.6-liter example shows how to allocate a batch without confusing container capacity, food quantity, and the number of meals.
Key Takeaways
- Divide a large batch into shallow containers and refrigerate promptly; do not wait for a stockpot to cool on the counter.
- Choose freezer-safe packaging and leave the expansion space its manufacturer specifies.
- Label the contents, amount, and dates before the soup becomes an anonymous frozen block.
- Distinguish freezer quality guidance from safe handling and reheating requirements.
Which soups are practical to freeze?
Broth-based and smooth vegetable or legume soups are convenient starting points. Texture after thawing depends on the recipe: pasta can become softer, and dairy-rich mixtures can separate. This is a quality question as well as a planning question.
Liebherr’s soup-freezing guide discusses freezing a base separately from noodles or cream. If you are making a familiar recipe, reserve those finishing ingredients for the portion you serve rather than adding them to a batch destined for storage.
That is not a rule that every creamy soup must be discarded or cannot be frozen. Test a small portion if you are unsure whether you will enjoy the reheated texture, and use a recipe designed for freezing when consistency matters.
Pick a soup you already like eating twice. Our pantry-staples guide can help with ingredient planning, but do not infer a protein amount from a soup’s name. The recipe and serving quantity determine what is in your bowl.
How do you cool the batch promptly?
Prepare shallow containers before cooking ends. Do not leave a large pot on the counter until it feels completely cold. USDA explains that small amounts of hot food can go directly into the refrigerator, while a large pot should first be divided into smaller amounts in shallow containers.
An ice or cold-water bath is another rapid-cooling option described in USDA’s guidance on hot food and refrigeration. If using one, keep the cooling water out of the food and move the portions promptly into refrigeration.
FoodSafety.gov advises refrigerating perishable food within two hours, or within one hour when exposed to temperatures above 90°F/32°C. These are maximum outside-refrigeration limits, not recommended waiting periods. Prompt action is the point.
Check that the refrigerator is at 40°F/4°C or below and the freezer at 0°F/−18°C or below, using an appliance thermometer. Leave room for cold air to circulate rather than crowding containers into an overloaded appliance.
Freezing does not repair unsafe handling. If a perishable batch has exceeded the relevant room-temperature limit, do not keep it by deciding to freeze it instead.
Which container and portion size should you choose?
Choose a quantity that matches the way you will use the soup. A small starter alongside another dish and a larger lunch are different jobs. Your preferred amount is a practical observation, not a universal serving recommendation.
Then select packaging with more usable capacity than that amount. A container labeled 450 milliliters does not necessarily have enough room for 450 milliliters of soup plus the expansion space required for freezing.
| Packaging | Useful when | Check before filling |
|---|---|---|
| Shallow rigid freezer-safe container | You want a stable, reusable portion. | Freezer rating, lid seal, and required headspace. |
| Freezer bag rated for food | Flat storage suits your space. | Seal, leaks, fill guidance, and supported filling. |
| Purpose-made portion tray | You want several smaller blocks. | Freezer suitability, covering, and later airtight storage. |
| Freezer-safe glass | You prefer suitable glass packaging. | Manufacturer’s fill limit and thermal-shock instructions. |
Do not assume an ordinary jar is suitable. Use packaging explicitly intended for the temperatures and handling involved. For any material, avoid filling to the rim and follow the manufacturer’s instructions rather than applying one headspace measurement to every shape.
You can cool the batch in shallow food-safe containers before transferring it to final freezer packaging if necessary. Keep that transfer organized, clean, and brief.
What does a 1.6-liter portion plan look like?
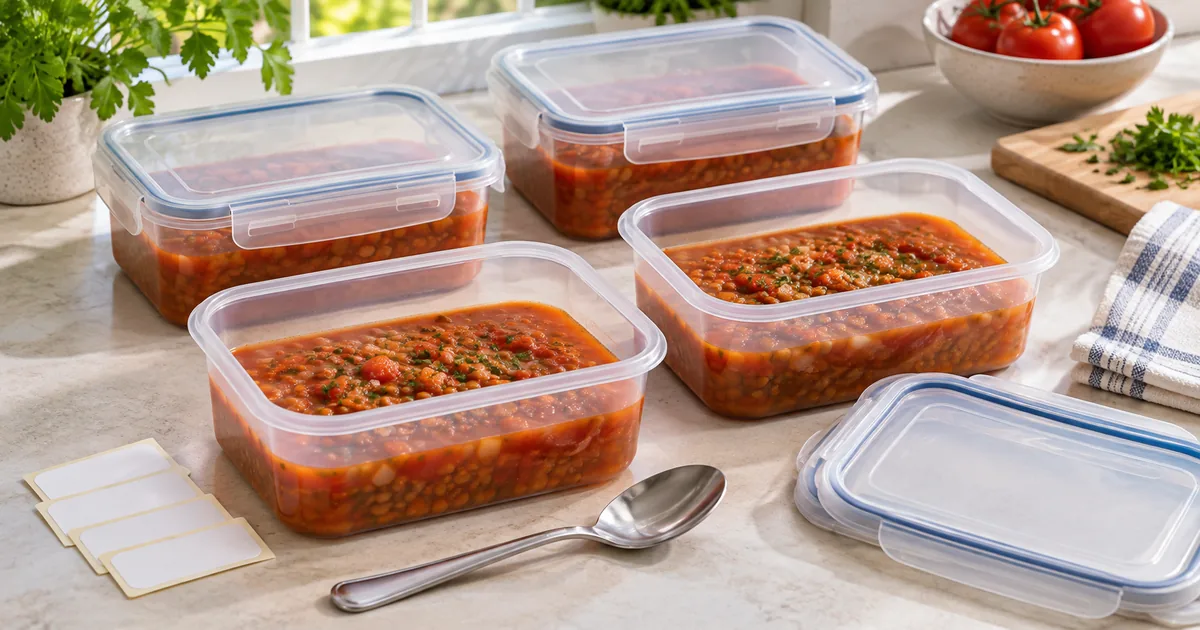
This fictional example assumes the finished soup yields 1.6 liters: 1,600 milliliters. The cook wants two larger lunches and two smaller portions to serve with another dish. The quantities are chosen for that person’s plans, not presented as nutritional targets.
Allocate the food before choosing container capacity
| Container label | Soup amount | Planned use |
|---|---|---|
| Tomato-lentil A | 450 ml | First lunch. |
| Tomato-lentil B | 450 ml | Second lunch. |
| Tomato-lentil C | 350 ml | Smaller portion with another dish. |
| Tomato-lentil D | 350 ml | Another smaller portion. |
| Total | 1,600 ml | Four separately usable portions. |
The arithmetic is 450 + 450 + 350 + 350 = 1,600. Each amount needs a suitable container that still leaves the required expansion space. The larger portion is not an instruction to fill a container of the same nominal capacity to its edge.
Carry the plan through to the next meal
The cook divides and chills the soup promptly, then packages the cooled portions for freezing. Each label identifies A, B, C, or D and the quantity. The freezer list records four portions rather than the vague entry “some soup.”
When lunch A is removed, the record becomes three portions remaining: 450, 350, and 350 milliliters, totaling 1,150. The cook can plan the next lunch without opening every container or thawing the entire batch.
This is a concrete extension of meal planning for one person: give the extra food a destination. If your freezer cannot accommodate the planned packaging, reduce the batch or choose a safe refrigerated-use plan before cooking.
What should you write on the label?
Label before filling if writing on the full container will be awkward. Include the soup’s name, amount, cooking date, and freezing date when different. A short finishing note—such as “add cooked noodles after reheating”—is useful if it reflects your recipe.
Record important ingredients when someone else will serve it. A label can remind you that milk or another ingredient is present, but it does not establish that a kitchen or meal is free from an allergen.
The FoodSafety.gov cold-storage chart lists soups and stews with vegetables or meat for three to four days refrigerated and two to three months frozen for quality. Its freezer times assume storage at 0°F/−18°C or below; continuously frozen, safely handled food has a different safety horizon from its best eating quality.
Use an earlier planning target if that helps you rotate food, but do not rename it a medically precise expiry date. Keep older portions easy to see and adjust your shopping list before adding another batch.
Writing down the freezing date also prevents a common bookkeeping mistake: treating freezing as proof that an earlier period of unsafe storage never happened.
How do you thaw and reheat just what you need?
Move the chosen portion to the refrigerator in a leak-catching dish. Allow enough time for its size and shape rather than promising that every container will thaw overnight. Do not thaw perishable soup on the counter.
Transfer it to cookware suitable for heating. Follow packaging instructions if using a microwave; freezer-safe does not automatically mean microwave-safe. Stir to redistribute heat and avoid judging the whole portion by a warm edge.
USDA advises reheating leftovers to 165°F/74°C throughout, checked with a food thermometer in several places. Its safe reheating guidance also directs bringing soups, sauces, and gravies to a boil. A bubbling edge around a cold center is not the finished result.
Reheat the portion you intend to serve, then update the freezer list. Finish the recipe as appropriate with separately cooked noodles or other planned additions. Keep the safe heating check separate from adjusting thickness or seasoning.
If your next batch changes size, use our recipe-scaling guide for the quantities, then repeat the packaging plan. A larger recipe needs enough cooling space as well as a larger pot.
Conclusion
For your next batch, choose two useful portion sizes before cooking. Set out shallow cooling containers, suitable freezer packaging, and labels. Once the soup is safely chilled and packed, record the exact quantities; when you take one out, cross off that portion rather than guessing what remains.
Frequently Asked Questions
Can I freeze soup that has already been refrigerated?
Yes, provided it was handled safely and is still within the applicable refrigerated storage period. Freeze it promptly when you know you will not use it in time, rather than using freezing to rescue questionable leftovers. Record the original cooking date as well as the freezing date.
What if the reheated soup is thicker than before?
If it has been safely stored, adjust the texture with an appropriate liquid while reheating, then check the required temperature throughout the finished mixture. Add liquid gradually so you do not overshoot the consistency you want. Texture adjustment does not replace the safety checks.