To choose a guitar pick, start with a standard flat shape that feels manageable, then compare a few thicknesses on the same guitar. Play the same easy chord and single-note pattern with each. Choose by comfortable control and the sound you want, rather than assuming one gauge is correct for every beginner.
Thickness matters, but it works alongside material, shape, tip, and how you hold the pick. This guide explains how to choose a guitar pick with a short comparison you can repeat. You do not need advanced songs, expensive accessories, or a large collection to make a useful first decision.
Key Takeaways
- Use millimeter measurements when available; labels such as medium vary between ranges.
- Keep shape and material similar when comparing thickness.
- Test both an easy strum and a short single-note action on the same instrument.
- A pick supports technique; it cannot replace a comfortable grip and manageable movement.
What should your first guitar pick help you do?
Begin with the playing you actually practice. Someone working on relaxed chord accompaniment may notice different qualities from someone learning to pick individual strings. You can still use one pick for both while your preferences develop.
Fender’s guide to choosing a pick discusses material, size, shape, and thickness, suggesting a standard medium option as a starting point for someone without a preference. Treat a starting point as permission to experiment, not a rule you must keep.
Choose something you can hold without squeezing hard or constantly repositioning it. A very small pick may feel precise to one person and difficult to manage to another. The same player can prefer a different pick for a different piece.
Limit the first decision to an ordinary flat pick. Fingerstyle, thumb picks, and specialist designs introduce other techniques. You can explore those later; the immediate goal is to find a tool that lets you practice a simple movement consistently.
How does thickness change the way a pick feels?
A flexible pick can bend as it moves across the strings, while a stiffer pick gives a different sense of resistance and release. Those differences can affect the way you strum or pick a note. The result depends on more than the number printed on the pick.
A thicker pick made from one material may not feel identical to another pick of the same thickness. Shape, edge finish, and how much tip you expose also change the experience. Avoid changing all those variables and attributing the entire difference to gauge.
D’Addario’s selection guide describes thinner, medium, and thicker options as useful starting categories. However, manufacturers and product ranges do not apply those labels uniformly. Compare the actual millimeter measurement when it is available, then test the feel.
For example, you could compare approximately 0.60, 0.80, and 1.00 millimeters in a similar material and shape. These are illustrative comparison points, not a mandatory progression or a ranking from beginner to expert. A lighter pick is not an inferior stage you must outgrow.
Why do shape, tip, and material deserve a separate check?
Look at the whole outline and the part that touches the string. A broad body offers a different holding area from a small teardrop shape. A rounded tip releases differently from a sharply pointed one, even when the overall pick looks familiar.
Fender’s plectrum primer illustrates several outlines and describes textured surfaces used to assist grip. You do not need to memorize shape numbers. Notice whether the pick rotates, whether your fingers have a useful contact area, and whether the tip feels predictable.
| Feature to compare | Practical observation | What to keep consistent |
|---|---|---|
| Body size and shape | Can you hold it without excessive pressure? | Same short playing pattern |
| Tip and edge | Does it catch or release as you expect? | Similar movement and exposed tip |
| Surface texture | Does it stay oriented in your grip? | Similar playing duration |
| Material | How do flex and contact feel? | Comparable shape and thickness where possible |
Do not turn a material description into a guaranteed tone formula. The guitar, strings, playing action, and recording position also contribute. If you like a result, note the complete pick specification instead of assuming that every pick made from that material will behave the same way.
How can you run a useful three-pick comparison?
Keep the playing task easy enough to repeat
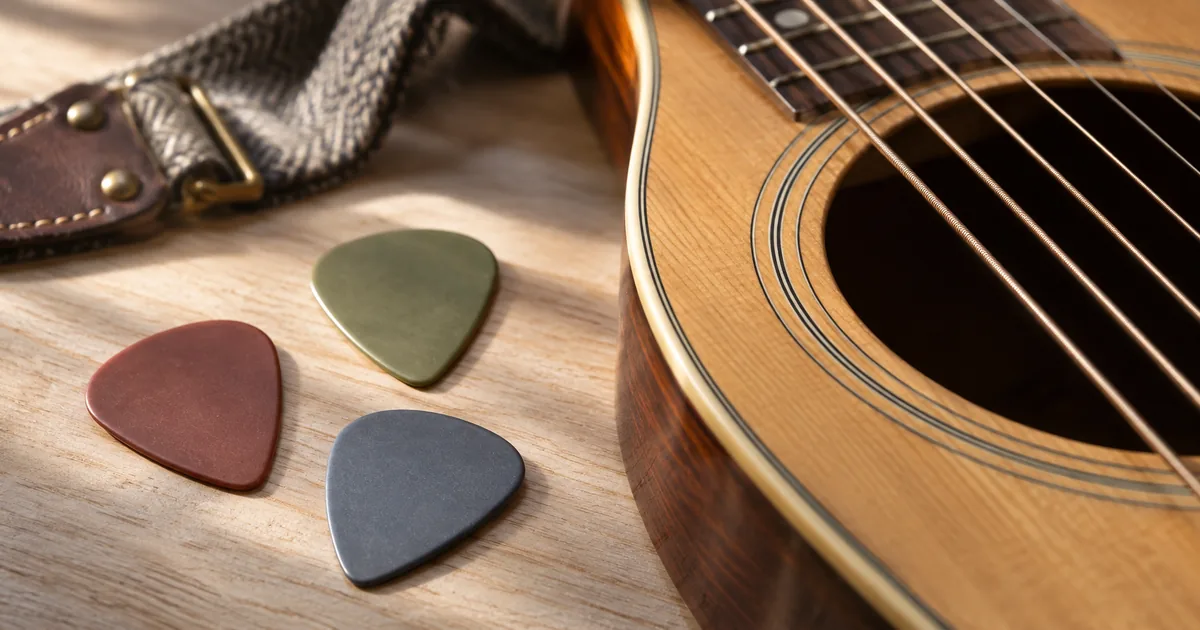
Use a tuned guitar and three clearly distinguishable picks. Keep the instrument, seating position, and any amplification settings unchanged. If the materials or shapes differ, write that down; the comparison can still help you choose, but it will not isolate thickness alone.
Play four slow down-strums on a chord you already know. Then play four separate notes on one open string, with deliberate pauses. Repeat the same actions with each pick. You are checking release, grip, and control, not testing how fast you can play.
Our beginner guitar practice routine can provide a familiar practice setting. Choose a task below your current difficulty limit so chord mistakes do not dominate the equipment comparison.
Follow an illustrative result through to a decision
Imagine Nadia, a fictional beginner, testing three similar picks. With the thinnest, she likes the gentle strum but feels less certain about individual-string contact. The middle option feels manageable for both tasks. With the stiffest, she catches the strings more often at her current playing angle.
Nadia chooses the middle option for the next few sessions. She records its thickness, material, and shape, then keeps the other two for a later comparison. That is a sensible decision for this example, not evidence that the middle gauge will suit every player.
If you make a short recording, keep the microphone or phone position consistent and listen at a similar playback level. A louder take can seem more impressive without being easier to play. Let the recording supplement what your hand notices rather than overrule comfort.
What should you change if the pick slips, catches, or feels awkward?
First check how you are holding it. Keep the tip visible and the grip secure enough to maintain orientation without clamping unnecessarily. If much more tip is exposed in one trial, you have changed the effective feel as well as the pick.
If it catches, slow down and reduce the amount of pick traveling through the strings. Try a modest adjustment in angle and movement. Make one change at a time so you can notice whether the issue came from the motion or from a particular pick.
If it rotates, compare a different surface or body size before deciding that you need to squeeze harder. Take a break if the movement becomes uncomfortable. A teacher can help observe a grip or motion problem that a product description cannot diagnose.
Separate fretting-hand problems from picking problems. A buzzing chord may come from finger placement rather than your accessory choice. Practice one string at a time, and use our guitar-tab guide if you need a clear way to identify which string and fret you are testing.
How do you settle on a choice without constantly changing equipment?
Keep the most workable option for several ordinary sessions. A new pick can feel unfamiliar, so a single rushed comparison may not be enough. Note whether the same problem returns rather than buying another accessory after every awkward strum.
Write one sentence about why you chose it: ‘This pick stays oriented and works for my chord practice and simple melody.’ A concrete reason is more useful than ‘This is the best pick.’ Revisit that decision when your playing task changes.
Inspect the edge as it wears. A chipped or heavily altered tip can make an old favorite feel different. Compare it with a fresh example of the same pick before assuming your preferences or technique have changed completely.
You only need enough options to support useful practice. Learn The Guitar is a related catalog resource for connecting chords, rhythm, tablature, and simple performances. Once a pick feels workable, put most of your attention back into making music rather than extending the comparison indefinitely.
Conclusion
Compare a few picks using the same four strums and four single notes. Record what changes in grip, release, and control, then choose one for your next practice sessions. Keep the decision provisional and practical: the right starting pick is one that helps you repeat the movement comfortably.
Frequently Asked Questions
Can I use the same pick for acoustic and electric guitar?
Yes, if it feels useful on both, but test it on each instrument. Different strings, guitar response, and playing tasks may change your preference. Keep amplifier and effect settings steady while comparing electric-guitar takes. You do not need separate picks simply because the instruments have different names.
Do I have to use a pick to learn guitar?
No. Many guitar styles use fingers, and some combine fingers with a pick. Choose a learning approach that matches the music and technique you want to practice. This guide concerns ordinary flat picks; it does not imply that fingerstyle is a temporary substitute or that every beginner needs both methods immediately.