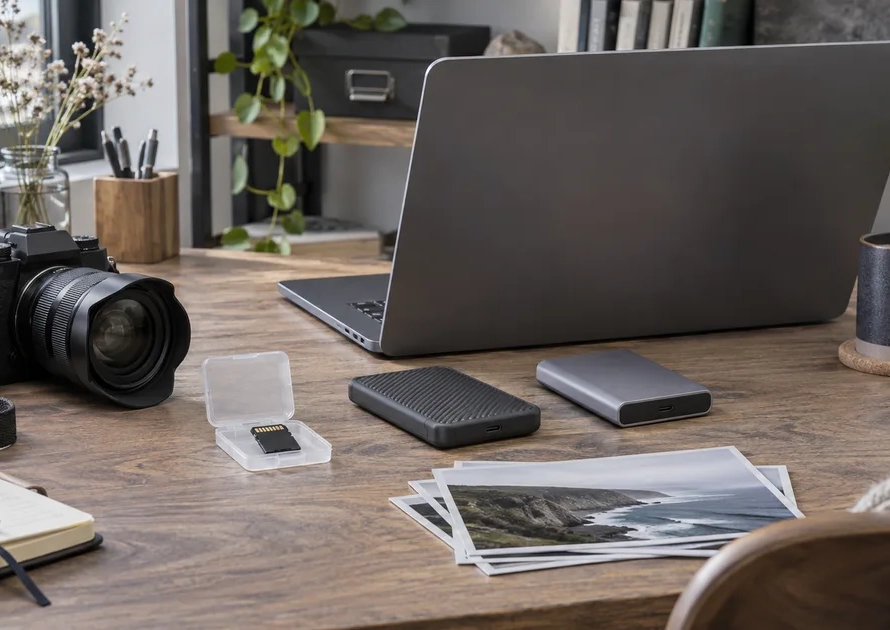
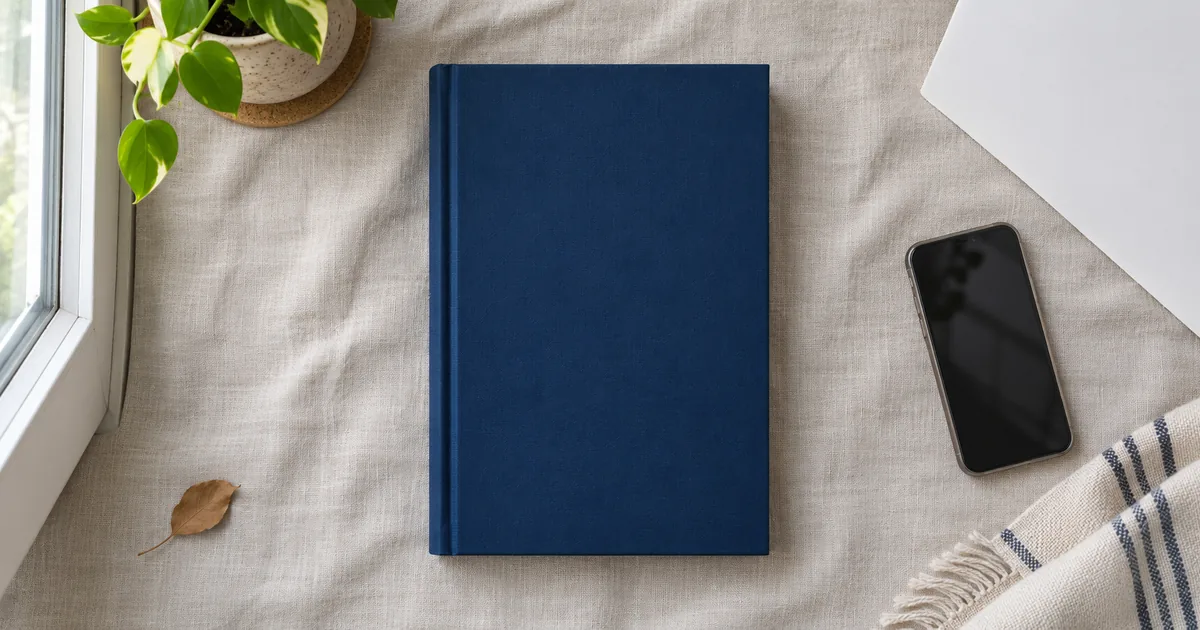
To photograph books in a flat lay, place the book on a simple surface, light it from the side, and keep the camera parallel to the cover. Check that the cover is sharp and readable before adding props. Fix reflections in the setup first; reducing brightness later cannot reliably recover detail hidden by a strong reflection.
You can begin with a phone, a window, and one book. This guide explains how to photograph books with a repeatable three-shot test, including what to change when a glossy cover reflects the light. The aim is a clear, intentional photograph rather than an elaborate scene that hides the subject.
Key Takeaways
- Decide whether the picture must document the cover or communicate a reading mood.
- Use a stable surface and an accessible overhead viewpoint without climbing on furniture.
- Keep the camera parallel to a flat cover when you want straight edges.
- Compare one change at a time, then add props only if they improve the image.
What should your book photograph communicate?
A picture for a review, a shop listing, and a personal reading journal may need different things. For a review, the viewer should recognize the book. A listing may need an accurate view of its condition. A journal image might prioritize the feeling of a particular reading moment.
Write a short goal before setting up: ‘Show this cover clearly beside one object connected to the story.’ That sentence makes decisions easier. If an object obscures the title or contributes nothing to the idea, remove it.
The creative team featured in Penguin Random House’s home book-photography guide treats the book as the centerpiece and considers the background deliberately. Start with a matte, uncomplicated surface that separates the book from its surroundings without competing with the artwork.
Keep a documentation photograph straightforward. A decorative plant should not conceal a damaged corner if the purpose is to show condition. When the image is mainly atmospheric, you still need a recognizable subject unless abstraction is your explicit goal.
How should you arrange light before choosing camera settings?
Place your surface near a window and look at the book from the intended camera position. Soft window light is a practical starting point, but conditions vary. Direct sun through the glass can create hard shadows, and a broad bright window can still reflect across a glossy jacket.
Canon’s flat lay photography advice highlights natural light and deliberate composition. Use that as a starting principle, then judge your actual cover. Move the setup into softer light or change its relationship to the window if highlights hide important detail.
If the shadow side looks too dark, a plain white card can reflect some light back toward the book. Place it outside the frame, compare the result, and keep it only if useful. It does not need to eliminate every shadow; gentle shading can help the book look three-dimensional.
Where safe and practical, turn off nearby lamps that add a different color to the scene. Our indoor white balance guide explains why mixed light can complicate color correction. For this exercise, simplify the light before trying to correct several different color casts.
How do you keep the book square and the photograph sharp?
Set the book flat, then position the camera so its back is approximately parallel to the cover. If one end of the book looks much narrower than the other, your camera may be tilted. Adjust the viewpoint before relying on perspective correction in editing.
A low surface can make a safe overhead view easier. Keep both feet securely on the floor and avoid standing on chairs or stretching over an unstable arrangement. If you use a support, check its stability and follow the manufacturer’s instructions; the equipment should not be precariously suspended.
On a phone, clean the lens and tap the cover to focus. Check the captured image enlarged rather than judging only the live preview. Read the smallest important text and inspect the corners of the cover for blur.
With an interchangeable-lens camera, choose settings according to the light, stability, and depth you need. There is no single aperture that suits every lens and arrangement. The exposure triangle guide helps you make that trade-off instead of copying a setting without checking the result.
How can a three-shot test reveal the cause of glare?
Establish a useful baseline
Use a closed glossy book and keep the surrounding scene simple. The following is an original diagnostic exercise, not a report of a particular camera test. Its success condition is visible cover detail with a composition you are happy to use.
Take shot one in your starting position. Look for a bright patch crossing the cover and note where it falls. If that patch follows the window’s shape, you have a clue about the reflected light source. Do not change several settings and the composition at the same time.
| Shot | One deliberate change | What to inspect |
|---|---|---|
| One | None: record the starting setup | Reflection position, sharpness, and cover geometry |
| Two | Move the book and camera together relative to the window | Whether the reflection moves away from important detail |
| Three | Add a suitable light-diffusing curtain if available, keeping the new position | Whether the reflection becomes less intrusive while detail remains readable |
Choose the result by the problem it solved
Keep the camera parallel as you reposition it with the book. Merely rotating a perfectly flat cover on the same spot may not remove its reflection. Moving the setup relative to the light changes the geometry more meaningfully. A curtain can soften light, but it is not a guaranteed cure for every glossy surface.
Photographer Belinda Jiao’s discussion of book glare explains the roles of angles, diffusion, and polarizing filters. Try positioning first before deciding that extra equipment is necessary. If shot two gives readable detail and a pleasing cover shape, that is a useful result even if shot three adds nothing.
If the reflection persists, change the position of an adjustable light or choose a slightly angled photograph. A strict flat lay is optional. Do not darken the entire picture until the reflection looks gray while the book itself becomes difficult to see.
Which props improve a flat lay instead of cluttering it?
Start with the book alone and add one relevant object. A pencil beside a nonfiction book may communicate active reading; a neutral textile can change texture without adding another strong subject. You do not need a purchase list of decorative objects.
Look at shapes and spacing. A round cup can contrast with a rectangular cover, but its position should not make the image feel crowded. Leave breathing room around the book and check all four frame edges for accidental intrusions.
Try two versions: one closely framed and one with more surrounding space. Compare them at the small size where the photograph will actually appear. If the title disappears among the props, simplify the arrangement or make the book larger within the frame.
Keep liquids and messy materials well away from books and electronics. Closed books are sufficient for this exercise; there is no need to force a binding flat to imitate another image. For a longer learning path, Digital Photography Mastery is a related catalog resource.
How should you edit and export the finished photograph?
Begin by selecting the strongest capture, not the most complicated arrangement. Crop unnecessary edges, make modest brightness and color adjustments, and compare the cover with the physical book in sensible light. Avoid filters that substantially misrepresent cover colors or condition.
Check straightening after the crop. A small accidental tilt may be distracting, but an intentionally diagonal book can still work if its shape is coherent. Do not apply so much perspective correction that the artwork looks stretched.
Export for the destination’s requirements and retain the original capture. Inspect the exported file at its intended display size: compression may make small title text harder to read. If your subject becomes unclear, change the crop or framing rather than simply increasing sharpening.
Use a descriptive filename and alternative text when publishing on a website. Describe what is visible and relevant, such as a named book beside a notebook, rather than filling the alt text with photography keywords. The final check is whether the image still communicates the goal you wrote at the start.
Conclusion
Photograph one book without props, inspect the result, and run the three-shot comparison if glare is a problem. Keep the clearest version, then add one intentional detail. A readable cover and a safe, repeatable setup give you a stronger foundation than a crowded scene.
Frequently Asked Questions
Can I photograph an ebook on a tablet instead of a physical book?
Yes, but treat the screen as a different surface. It can reflect the room, vary in brightness, and show display patterns in a photograph. Test the actual capture and keep private notifications out of view. A screen image does not need to look identical to a printed cover to communicate a reading moment.
Do I need a square photograph for social media?
No single crop suits every destination. Check the current placement requirements and preview how the image will display. Leave enough space around important details to make alternative crops from the same capture. Keep an uncropped original so a later change of format does not force you to stretch the image.