To draw ellipses, establish their width, height, and direction with light guides, then carry a continuous curved line around the shape. Keep the ends rounded rather than pinching them into corners. For an object such as a cup, judge the opening you actually see instead of drawing a memorized oval.
This beginner guide moves from simple practice shapes to an original cup-rim exercise. You will separate two problems that often get mixed together: seeing the right proportions and drawing a smooth line. An ordinary pencil and a stable subject are enough to start.
Key Takeaways
- Compare the opening’s height and width before adding detail.
- Use the major and minor axes to check balance in a practice ellipse.
- Carry the curve around each end without creating a sharp corner.
- Choose one visible error to revise rather than repeatedly darkening the outline.
What are you trying to see when you draw an ellipse?
A circular rim viewed at an angle often appears elliptical. Looking more directly into the opening makes it appear rounder; bringing your viewpoint closer to its plane makes it appear narrower. That change explains why a familiar cup can need a different outline every time you move your chair.
In a simple ellipse, the major axis runs across the longest dimension, while the minor axis crosses it at right angles through the center. The four quarters should balance. BYU–Idaho’s drawing lesson uses these axes to explain the shape and shows how pointed ends make a rim look creased.
These guides are a checking tool, not a reason to force every visible contour into a perfect mathematical figure. An uneven handmade rim, a tilted cup, and a strongly perspective-distorted object can introduce complications. Begin with a plain, straight-sided cup viewed from a moderate distance.
Keep the subject still and your viewpoint consistent. If the visible opening changes between observations, you cannot tell whether the drawing is wrong or you are looking at a different shape.
How should you set up the first practice shapes?
Choose paper large enough for several palm-width attempts. A very tiny ellipse can encourage cramped finger movements before you have understood its direction. Use a light enough pencil pressure that a guide remains distinguishable from the finished contour.
Make width and height separate decisions
Draw a light horizontal line for the width, mark its midpoint, and add a shorter vertical line through that point. For a practice shape, place equal distances above and below the midpoint. The proportions are your choice here; you are learning control, not measuring a real object yet.
Try three separate widths or heights rather than filling a page with the same narrow oval. Artist Ron Lemen’s exercises include changes of scale and orientation. Use that principle in a manageable way: a few deliberate variations provide a clearer comparison than an exhausted page of hurried marks.
If you have not established a working page yet, our sketchbook starting guide explains how to give it a simple purpose. Leave room beside these ellipses for brief observations, because the note about an error may be more useful than another attempt.
How can you draw one ellipse without pinched ends?
Move your pencil above the page along the intended path before making contact. Notice whether the movement slows abruptly at the left and right ends. If it does, rehearse a slightly broader turn instead of planning a straight segment that suddenly reverses direction.
Let each end remain a curve. A narrow ellipse has tighter turns than a broad one, but those turns are not corners. The Drawing is Seeing practice lesson emphasizes keeping the pencil moving through the ends rather than stopping there.
- Rehearse the whole path lightly above the paper.
- Draw a complete, light loop at a comfortable pace.
- Pause and compare the two ends and the top and bottom halves.
- Make a fresh attempt nearby if the first needs a major change.
A second light pass can help you understand a movement. Many heavy passes, however, make it difficult to see the shape you intended. Avoid treating a thick bundle of lines as evidence of accuracy. Keep the early attempts visible so you can compare them.
What does a three-pass cup example look like?
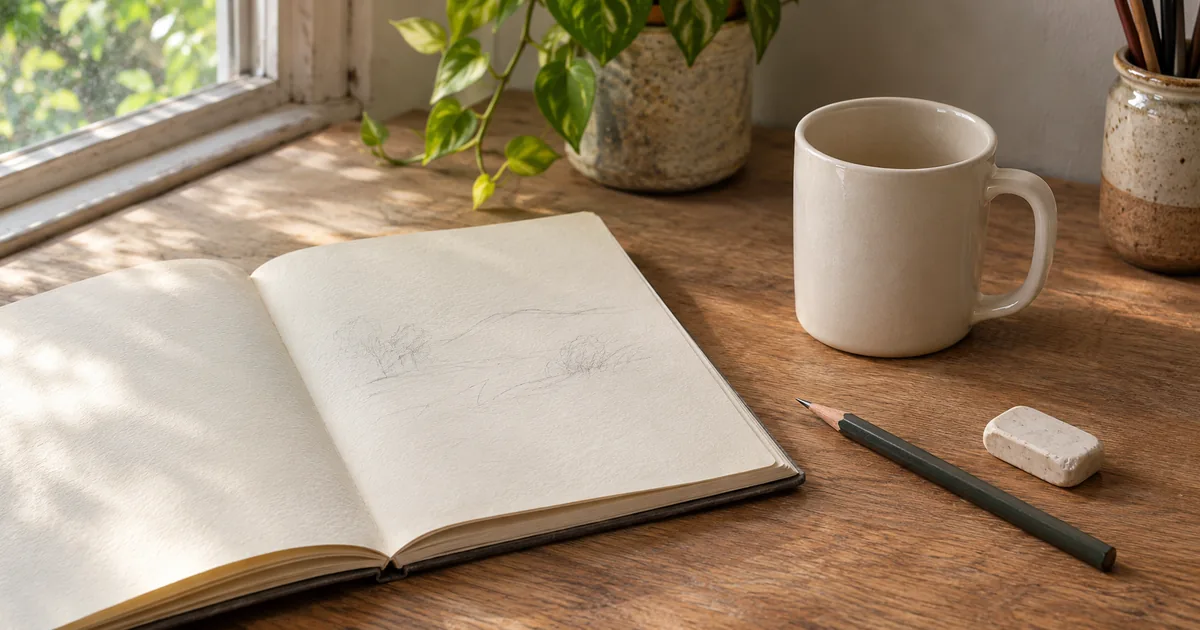
Place a straight-sided cup below eye level so you can see its opening. Ignore the handle and surface decoration. The following is an original practice example; the measurements describe the planned drawing, not a universal proportion for cups.
Pass one: decide what the opening needs
Suppose your first light guide is 8 cm wide and 4 cm high. Compare it with the real opening by looking repeatedly between subject and page. You decide the guide is too open: the real rim appears closer to 8 cm wide and 3 cm high. Reduce the guide height before committing to the contour.
Pass two: check the line separately
Draw the ellipse using the revised guides. Its height now seems convincing, but the left end has a point. Keep the width and height unchanged for the next attempt. Rehearse the left curve, then redraw the loop next to the first rather than solving a line-control problem by flattening the whole shape.
Pass three: test it as an object
Add two light sides descending from the outside of the rim. Their connection should make the top read as the opening of a cup. You are not completing the base or handle; the purpose is to see whether the rim belongs to a believable volume.
The result is a specific decision: keep the narrower opening and practice its left turn. A note such as “8 by 3 guide; left curve still pinches” gives the next attempt a job. It is more actionable than deciding that you are simply bad at ellipses.
Which mistakes should you correct first?
Check the large decisions before surface quality. A beautifully smooth ellipse can still be too tall for the observed cup. Conversely, a lightly uneven line may sit within the right proportions and need only a more confident pass.
| What you notice | What to check | Useful next attempt |
|---|---|---|
| Pointed end | Did the curve stop or reverse abruptly? | Keep the same guides and rehearse the turn. |
| One half looks fuller | Are the guides centered, and do the quarters balance? | Compare opposite sides before darkening. |
| Rim looks too open | Does its height match the observed width? | Reduce height only if observation supports it. |
| Rim seems detached | Do the cup sides join the rim convincingly? | Redraw the connection before adding shading. |
Do not use a dark shadow to disguise a connection you have not understood. If you want to develop tone afterward, our pencil shading exercises address that separate skill. The outline should already describe the basic form.
Turning the page can help you examine balance, but look back at the subject from the original viewpoint before changing the observed direction. Page rotation is a drawing aid; it does not change the cup.
How can you make the next practice session useful?
Keep one practice ellipse and one cup attempt as a starting reference. On your next visit, change one demand: the guide height, the size on the page, or the viewpoint of the cup. If you change all three, it becomes harder to explain why the new attempt looks different.
Finish with one fresh object that uses the same idea, such as a cylindrical jar. Observe the opening first. The transfer matters more than producing a large number of decorative ovals, because the goal is to draw circular forms in everyday scenes.
Become a Pro Pencil Drawing Artist is a related option for extending your drawing practice. Keep today’s specific observation beside any broader learning plan, so the next exercise builds on a difficulty you have actually noticed.
Some sessions will produce a clearer diagnosis without a visibly polished drawing. That is useful progress: knowing that your eye judged the height correctly but your hand pinched one end tells you what to practice next.
Conclusion
Set up one plain cup and draw its opening twice. Compare width and height on the first attempt, then isolate the most obvious line problem on the second. Write down the decision you made before moving on to shading or a more complex object.
Frequently Asked Questions
Do I need an ellipse template?
A template can provide a clean reference shape or serve a specific drafting task. It does not tell you which width, height, or direction the observed rim requires. For freehand learning, make an attempt first, compare its proportions, and use a template only if it answers a clear checking question.
Can I practice from a photograph instead of a real cup?
Yes. Choose a clear photograph with a visible opening and avoid an extreme wide-angle view at first. Keep the image at one size while comparing proportions. A photograph provides a stable reference, but drawing from life later helps you notice how the opening changes when your viewpoint changes.