To clean acrylic paint brushes, remove excess wet paint, rinse gently, wash with mild soap, rinse out the residue, and reshape the head. Begin before the paint dries. During painting, a brief cleaning pause is easier to manage than trying to remove a hardened plug from the base of the bristles later.
This guide covers ordinary water-based artist acrylic, with a worked example of an interrupted painting session. It also explains how to inspect a brush after washing and what to check before trying a dried-paint cleaner. Follow the brush and cleaner manufacturers’ instructions when they specify a different treatment for your materials.
Key Takeaways
- Remove excess paint before putting a brush into rinse water.
- Keep wet-paint cleanup and dried-paint recovery as separate decisions.
- Do not leave a brush standing on its bristle tips.
- Judge cleanliness by flexibility and a test stroke, not perfect white bristles.
What should you set up before painting?
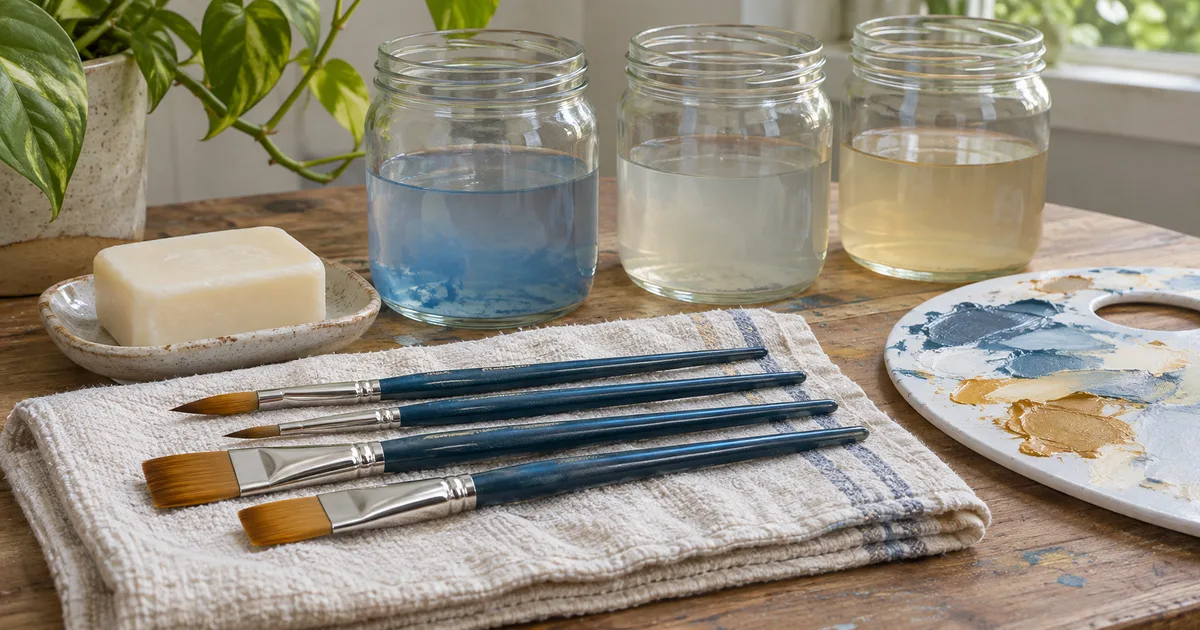
Place rinse containers, a wiping cloth, and a clean resting area within easy reach. Keep cleaning supplies separate from drinks and food. A wide, stable container is easier to work beside than a narrow glass that tips when a long brush leans against it.
A staged rinse helps you avoid transferring the first brushful of pigment into water meant for the last rinse. One container takes the initial residue, another takes the next wash, and a cleaner container finishes the sequence. You still need to inspect the brush instead of assuming three jars guarantee a clean result.
Use a cloth or absorbent paper that you can handle according to the paint label and local waste guidance. Remove accumulated residue from the work area as you go. A surface crowded with used wipes makes it harder to find a clean place for the next brush.
Look at the brush before loading paint. Notice the metal ferrule, the bristle base, and the working tip. Keeping track of where the paint travels helps you spot buildup early. If you are learning basic handling, our acrylic techniques guide provides a useful companion to this maintenance routine.
How do you clean a brush between colors?
Wipe away excess wet color gently, working along the bristles rather than crushing them sideways. Move to the first rinse and agitate the brush lightly. Avoid grinding the head against the container bottom. Repeat in cleaner water when the first rinse is heavily tinted.
Check whether the next color needs a truly clean brush. A little blue remaining in a brush may be useful for a related blue-green mixture, but it can change a pale yellow unexpectedly. Test on scrap material before putting a critical light stroke into the painting.
Remove water as well as unwanted color
After rinsing, blot the brush without twisting its head. A dripping brush can change the consistency of the next mixture. If you want a particular paint body, pick up a small amount, make a test stroke, and adjust before returning to the main surface.
Winsor & Newton’s cleaning guide recommends mild soap, cool water, thorough rinsing at the bristle base, and cleaning before acrylic dries. A quick between-color rinse is a working step; it does not replace a careful wash when you finish the session.
What should you do when a painting break interrupts you?
Treat an unexpected break as a decision point. If you are staying beside the painting, you can rinse the current brush, blot it, and set it down clean. If you are leaving the work area, give used brushes the appropriate wash before walking away. Do not rely on remembering them later.
A worked example: stopping halfway through a landscape
Imagine you are painting a small blue-and-ochre landscape with a flat brush and a round detail brush. The flat is loaded with blue, and the round has a little ochre near its base. A call interrupts you just as you are about to begin the foreground.
First put the painting somewhere stable. Wipe the flat to remove the bulk of the wet color and rinse it through your containers. Repeat with the round, looking closely at the area near the ferrule. Wash and rinse both, then blot and reshape them for drying.
When you return, check the brushes before restarting. Suppose the round bends freely but retains an ochre tint; its test stroke is clean. The flat releases a blue trace onto a damp wipe. Wash the flat again rather than assuming that both brushes passed because they shared the same routine.
The result is a practical distinction: one brush is stained but usable, while the other still transfers residue. You can resume with the first and finish cleaning the second. Next time, keep paint farther from the round’s base and leave the cleanup materials ready before starting.
How do you finish cleaning without damaging the shape?
Work a small amount of suitable mild soap through the wet bristles with gentle movement. Rinse and repeat as needed. Open the head only as far as it naturally moves; forcing individual fibers apart can do more harm than an ordinary wash. Check both sides of a flat brush.
When rinsing appears complete, inspect the bristle base and wipe the handle and ferrule. Gently restore the round point or flat edge. A smooth head that springs back and leaves no paint trace is a more useful sign than judging the color of the final rinse alone.
| What you notice | What it may mean | Next action |
|---|---|---|
| Tint remains, fibers move freely | Pigment staining | Make a clean-water test stroke |
| Color transfers onto a clean damp wipe | Residue remains | Repeat a gentle wash and rinse |
| Base feels stiff or clumped | Paint may remain between fibers | Inspect before using or selecting a cleaner |
| Bent or splayed working edge | Shape needs attention | Reshape gently and assess after drying |
Dry the brush without pressure on its tip. Drying recommendations differ among manufacturers: some specify head-up drying after removing excess water, while Angelus recommends laying brushes flat. Follow the guidance for your brush; a flat, uncrushed resting position is a practical option when suitable.
Store only after drying, with the head protected from being bent by other tools. Keep any protective sleeve loose enough to avoid crushing the shape, and use it as intended for that brush. A crowded pencil cup is not helpful if another tool repeatedly presses across the bristles.
Can you rescue dried acrylic in a brush?
Start by assessing the extent of the problem. A small dried patch near the tip differs from a head hardened through to the ferrule. Plain water should not be expected to dissolve a cured acrylic film. Stop pulling at the head if the fibers are catching or shedding.
A dedicated cleaner may help, but its contact time and compatibility are product-specific. Read the label and check the brush material. Do not transfer one brand’s overnight-soak instruction to another cleaner, and do not mix cleaners or substitute a household solvent simply because it seems stronger.
After any permitted treatment, follow the product’s washing and rinsing instructions and inspect the brush again. Try it on scrap before returning to a finished painting. Restoration may be incomplete, particularly if the shape has already changed.
A brush that no longer makes a precise edge may still suit rough textures if it is clean and sound. Keep it clearly separated from your detail brushes. If fibers are coming loose or the ferrule is unstable, replacing the tool is more sensible than repeatedly forcing it back into service.
How do you manage rinse water and check the brush tomorrow?
Rinse water still contains paint residue even when it looks only lightly tinted. Blick’s acrylic-waste guidance describes staged rinsing and collecting waste rather than sending paint-rich water down the drain. Keep collected material in a suitable, clearly identified container away from children and pets.
Check the paint label and your local waste service for the appropriate disposal route. Rules and collection arrangements differ. Settling or collecting the residue is a handling step; it does not establish that the remaining liquid is suitable for any particular drain or outdoor disposal.
The next day, compare the brush with the shape you observed before painting. Wet it appropriately and make a short test stroke on scrap: a flat brush should produce the edge you need, and a round should respond to a light change in pressure. Note any stiffness or stray fibers.
For continuing practice, Canvas Painting is a related BestDigiBooks guide. Keep one maintenance observation beside your painting notes. Linking a poor test stroke to residue or shape gives you a specific adjustment for the next session.
Conclusion
Before your next painting session, prepare the rinse containers, wipe, and resting area. Clean one brush carefully and test it again after drying. Use that result to refine the routine, especially at the bristle base and whenever a break interrupts your painting.
Frequently Asked Questions
Can I use the same brush for acrylic paint and varnish?
Check the varnish and brush instructions before doing so. Water-based and solvent-based products may need different cleaning methods. Keeping a separate suitable varnish brush can avoid introducing old color into a clear finish and makes it easier to follow the correct product-specific cleanup.
How often should I replace rinse water?
Change or move to a cleaner rinse when residue is transferring back into the brush or interfering with your next color. A pale final wash may need cleaner water sooner than a dark underpainting. Collect the used water appropriately; a fixed number of brush dips is not a reliable cleanliness test.