Photos usually look blurry because the camera moved, the subject moved, or the lens focused somewhere other than the intended subject. Start by inspecting the pattern. Directional streaks suggest movement. A sharp background behind a soft face suggests misplaced focus. If only a narrow slice is sharp, the depth of field may be smaller than you wanted.
The fixes depend on the cause, so changing every setting at once makes diagnosis harder. This guide is for a beginner using a camera with adjustable settings. It finishes with a three-picture test using a stationary mug and one moving object, so you can compare the results and choose a specific adjustment.
Key Takeaways
- Look at the subject and a stationary background before changing settings.
- Use a supported camera to help test for camera shake.
- A faster shutter can reduce movement blur, while correct focus solves a different problem.
- Inspect the original file before judging a compressed copy or heavy crop.
Is the blur everywhere or only on the subject?
Open the original image and inspect a small section at around 100 percent magnification. Look at a stationary detail, such as a doorframe, as well as the subject. Repeated edges or streaks across the whole frame suggest the camera moved during exposure. A sharp doorframe beside a streaked person points toward subject movement.
Next, search for anything that is clearly sharp. A crisp wall behind a soft portrait can mean the camera focused on the wall. A sharp near eye with a soft far eye can suggest a narrow depth of field. Those patterns can overlap, so use them to choose a test rather than announce a diagnosis immediately.
| What you see | Cause to investigate | First useful test |
|---|---|---|
| Directional blur across stationary details | Camera movement | Support the camera and repeat |
| Sharp background with a streaked subject | Subject movement | Try a faster shutter |
| Sharp detail at the wrong distance | Focus placement | Select the intended subject and refocus |
| A narrow sharp slice through the subject | Shallow depth of field | Try a smaller aperture while maintaining shutter speed |
| Only the shared copy looks soft | File size or compression | Compare the original at the same display size |
Write down the shutter speed, aperture, ISO, and focus mode from the image information if available. That gives you a baseline. If the relationship between those exposure settings is still unfamiliar, the exposure triangle guide explains how adjusting one can affect the others.
How can you test for camera shake?
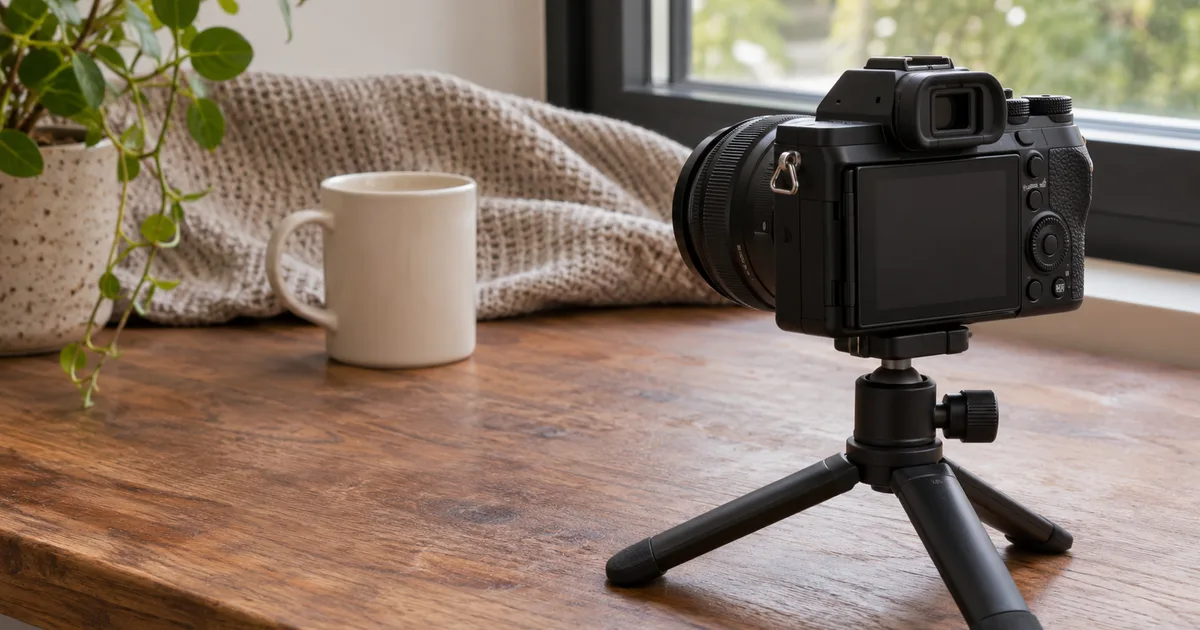
Photograph a stationary mug near a window. Support the camera on a sturdy tripod or stable surface, use the self-timer, and repeat the picture at the same exposure settings. Keep the same focus point and subject distance. Comparing a supported shot with a handheld one helps you isolate movement introduced by holding or releasing the camera.
Sony’s guidance on preventing blur distinguishes camera shake from subject movement and suggests stable support for the former. If the mug becomes clearer with support, try a faster shutter when you return to handheld shooting. A longer focal length or a heavy crop may make small movements more visible.
Judge the shutter speed by the result you need. A speed that works for one person, lens, and subject may fail in another situation. Take a short sequence at increasingly faster speeds and inspect the same detail. Keep a note of the first setting that gives you a consistently clear result.
What if the subject moves while the background stays sharp?
A tripod steadies the camera while the subject can continue moving. If a person’s hand is streaked beside a sharp table, try a faster shutter and repeat the movement. When possible, take another frame during a pause in the action. Compare the subject itself rather than relying on a sharp background.
Suppose an indoor picture used 1/30 second. Try 1/250 second as a starting experiment for moderate movement, then inspect the result and adjust further if needed. This is a test setting. Faster motion, a closer subject, or movement across the frame can require another choice.
With the aperture unchanged, the faster shutter admits less light. You may need more light or a higher ISO to keep a useful exposure. Canon’s troubleshooting guidance discusses these options. Accepting some visible noise can be a reasonable trade when the main problem is a subject whose features are smeared by movement.
How do you check missed focus and shallow depth of field?
Place focus on a specific detail
Choose a clear target, such as the near eye in a portrait or lettering on a stationary object. Select a suitable autofocus area and confirm that focus has settled before shooting. If the subject moves toward or away from you, check the camera’s continuous autofocus options and tracking instructions in its manual.
If the whole picture is evenly soft, check whether the lens is set to manual focus and whether you are closer than its minimum focusing distance. Step back and refocus. A shiny surface, a dark low-contrast object, or glass between you and the subject can make autofocus harder to use.
Check how much of the subject you need sharp
A correctly focused eye can sit inside a depth of field too narrow for the rest of the face. Try a smaller aperture, such as moving from f/2.8 to f/5.6, while keeping a shutter speed appropriate to the movement. Recheck exposure and ISO after the change. Inspect both eyes or the specific details that matter.
A very small aperture can introduce another kind of softness. Nikon’s sharpness troubleshooting guide includes diffraction among the possibilities. Test a moderate setting before closing the lens down as far as possible. The goal is enough depth for your subject with the clearest useful result.
What can make a sharp file look soft?
Compare the original with the version sent through a messaging app or exported for a website. A small compressed copy enlarged to fill a large screen can look softer than its source. Use the same display size for the comparison. Otherwise, you may be judging different amounts of enlargement.
A heavy crop also asks a small area of the image to do more work. Look at the uncropped file before deciding that focus failed. If the original detail is clear at a sensible size, improve framing during the next shoot or export enough pixels for the intended use.
Inspect the lens or protective filter for fingerprints or condensation. Follow the equipment maker’s cleaning instructions and remove loose grit safely before wiping. A smeared surface can reduce contrast across an image. Keep file quality, lens condition, and focus as separate checks so one fix does not conceal another cause.
How do you run a three-picture diagnosis?
Use the stationary mug as a reference and ask a helper to move a small card beside it, at roughly the same distance from the camera. Keep the light, framing, aperture, and focus on the mug consistent. Start with an exposure that makes the scene easy to inspect, then record each setting as you go.
- Take picture one handheld at a slow shutter such as 1/30 second while the card moves.
- Take picture two with the camera supported and the self-timer, using the same exposure and focus settings while the helper repeats the movement.
- Take picture three supported at a faster shutter such as 1/250 second. Keep the aperture and focus consistent, and adjust ISO if needed to maintain comparable brightness.
Imagine the mug is streaked in the first image, sharp in the second, and still sharp in the third. The moving card remains streaked in the second but becomes clearer in the third. That pattern supports two adjustments. Camera support addressed the mug’s blur, while a faster shutter helped with the moving card.
If the mug remains soft in the supported images, revisit focus placement and distance before drawing conclusions about shutter speed. Repeat only the uncertain part of the test. The comparison gives you a narrower next step than changing several controls and hoping the next picture looks better.
For continued practice, Digital Photography Mastery is a related BestDigiBooks guide. Keep a small record of the scene, the blur pattern, and the change that helped. You can apply the same comparison to portraits, travel pictures, and product photographs.
Conclusion
Pick one blurry original and identify where a sharp detail should have been. Use that observation to choose a supported-camera test, a faster-shutter test, or a focus check. Compare the same detail before and after, then keep the adjustment that solves the visible problem.
Frequently Asked Questions
Can sharpening rescue a blurry photograph?
Sharpening may improve the appearance of existing edges, but it cannot reliably restore detail that was never captured clearly. AI reconstruction may produce plausible detail, which can differ from the original scene. Check the result carefully and prioritize correcting the capture when a repeat is possible.
Why do photos look sharp on the camera screen?
A small preview can hide minor blur. Magnify an important detail during playback, especially before leaving a scene you cannot easily repeat. Compare at a useful size rather than enlarging every file beyond how it will be displayed or printed.